If you’ve read some of the previous posts, you will know by now that this “journey into game audio” is not about learning game audio in general. It’s about learning how to build and make audio systems in Unreal Engine. This time I will explain how I made a Audio Mix Utility in UE5.
If you’re already into game audio, I suppose you know some of the most used audio middleware, like Wwise and FMOD. Those middlewares and other ones, offer you great tools for working with sound in video games.
Moving from Wwise or FMOD to the Unreal Audio Engine can be… scary… at least for Sound Designers with little or no experience with a Game Engine. We are used to see faders, and knobs, and Solo and Mute buttons. And be able to see the waveforms, and route tracks to buses and VCA’s in an visually intuitive way.
Don’t get me wrong. The more I learned about how to work with Unreal, the more I realized how wrong I was about thinking of Middlewares as a “better” option. At the end, in my experience releasing games with Wwise, if you want to do some “advanced” things with audio, you will probably need to wrap your head around Unreal at some point. Sure, programmers can help you with that, but… who want’s that? Joking aside, it’s not always easy to communicate audio ideas to programmers. Not a lot of them have experience or vocabulary in sound.
Note: At the end of this blog there’s a video showcasing how the whole system works in detail.
The need
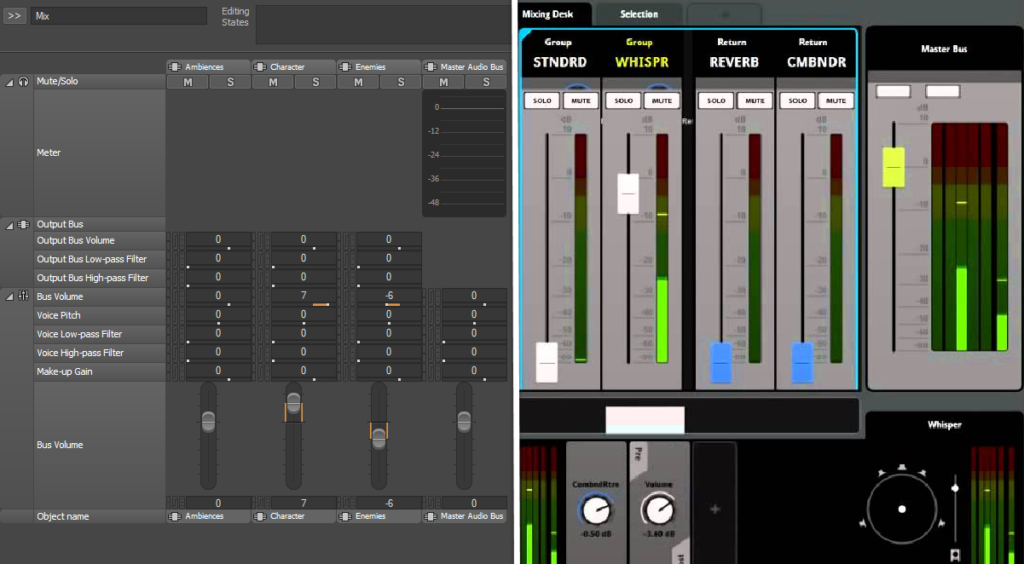
One tool that Wwise has that I think has save me a lot of time in the past was the “Mixing Desk”. Having the ability to see all my Audio Busses in one place, change their volumes in real time, soloing, muting, etc is great for testing very quickly mixing ideas. Consequently, I challenged myself to try to recreate that, or at least a basic imitation, using Blueprints in Unreal.
Unreal Engine currently uses Sound Classes and Sound Mixes to handle routing and grouping of sounds. This way is easier to apply changes in the mix when some event happen in game. I will not explain how to work with Sound Classes and Sound Mixes work, because it’s not the focus of this blog. If you are interested in learn about that, there’s a really good course in the Unreal Learning Portal.
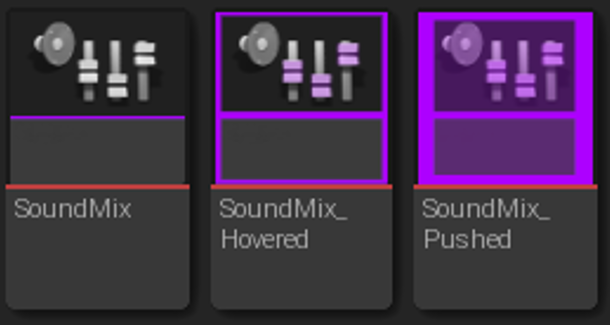
The Widget Buttons (UI)
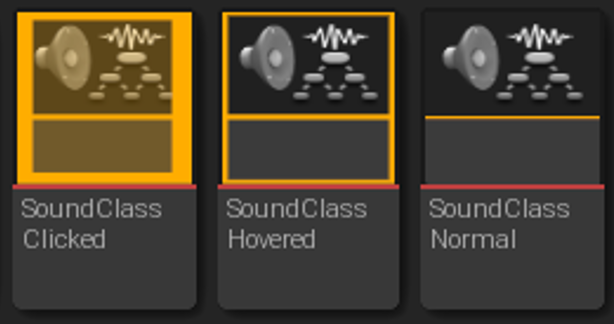
Three Widget Blueprints and a few Image Textures are necessary for the system.

Two of them are just single buttons, representing Sound Mixes and Sound Classes respectively. And the third works as a container of all the Sound Mixes and Sound Classes found in the Content Browser

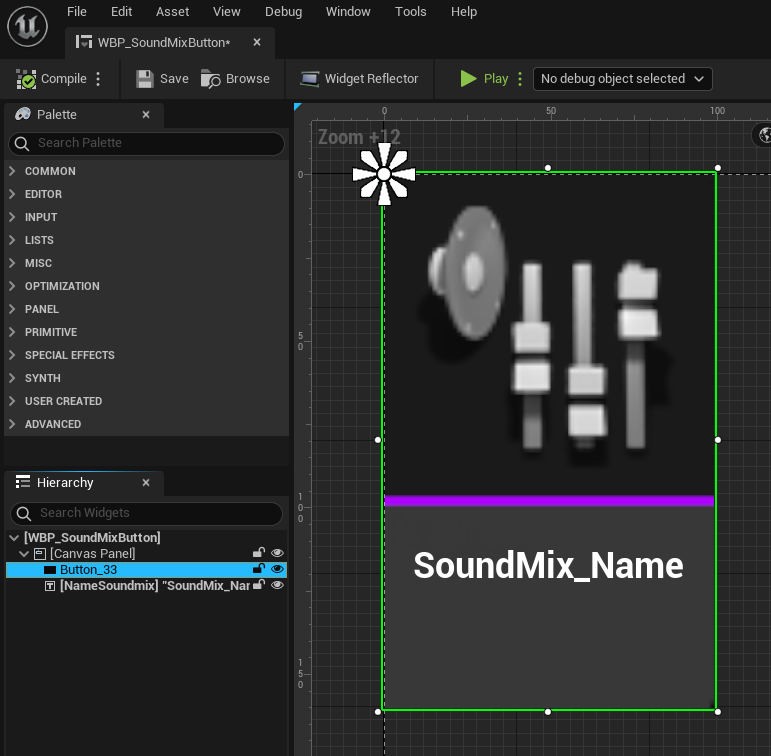
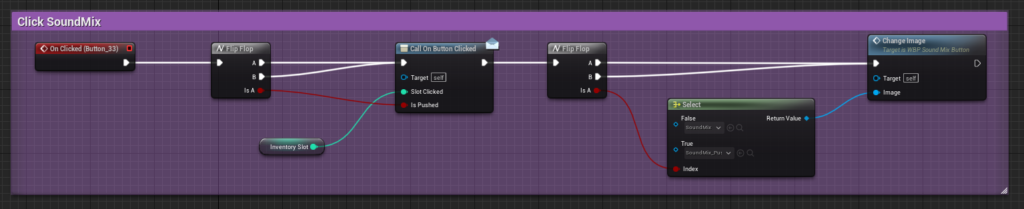
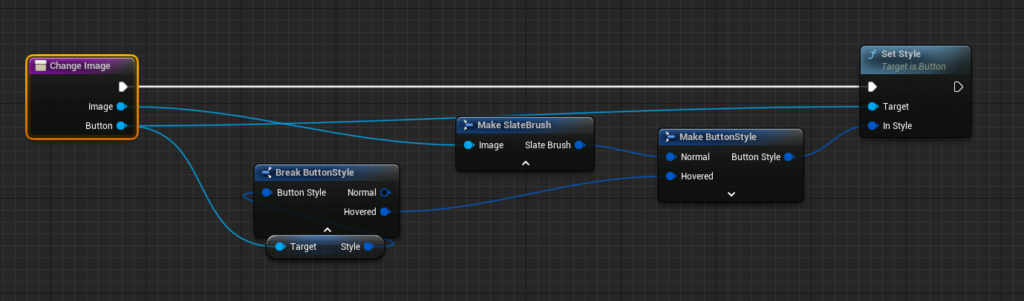
This is all the logic that the widget has. When clicked, call an Event Dispatcher and replace the image with one with highlighted borders. Therefore representing that this button has been “pushed”
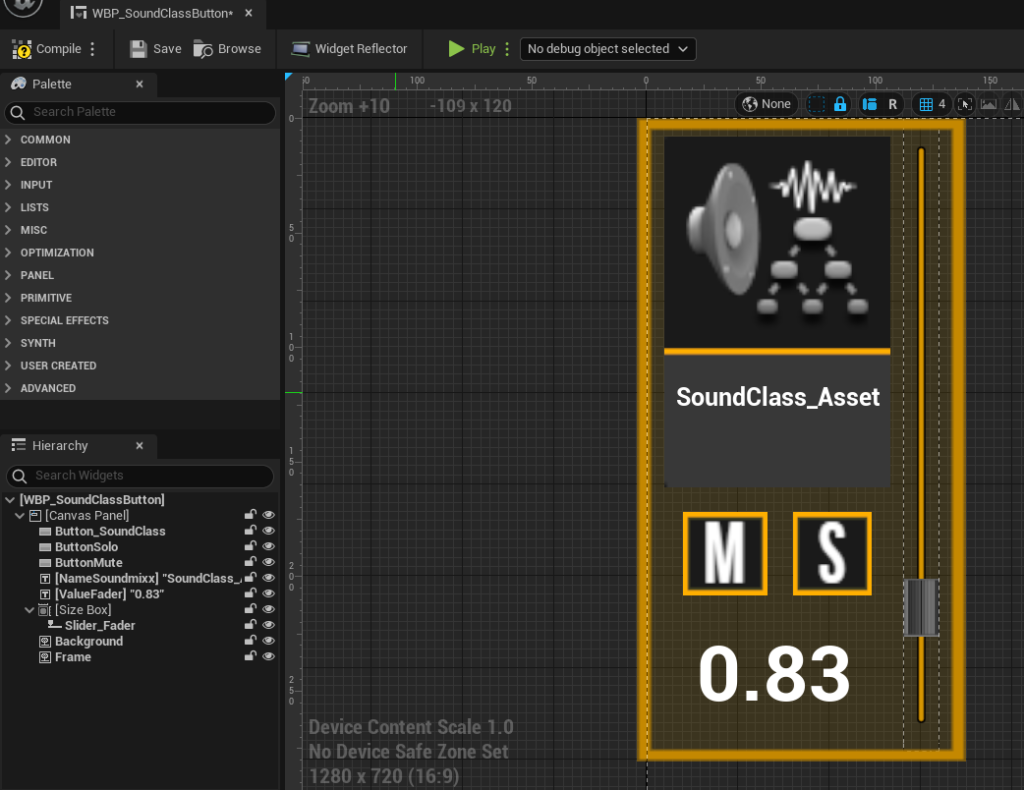
And similarly for Sound Classes, but with some extra functionality, because this buttons will also have Solo and Mute Buttons, and a Slider

Please note that you open the images by clicking them and extra zooming in by double clicking the opened image.
The Audio Mix Utility
With both Widgets created, we can now create the “Mixing Utility” Widget. It’ll be populated with the SoundMix and SoundClass buttons as childs in the Grid Panels. Here’s where I’m going to have control of the audio mix


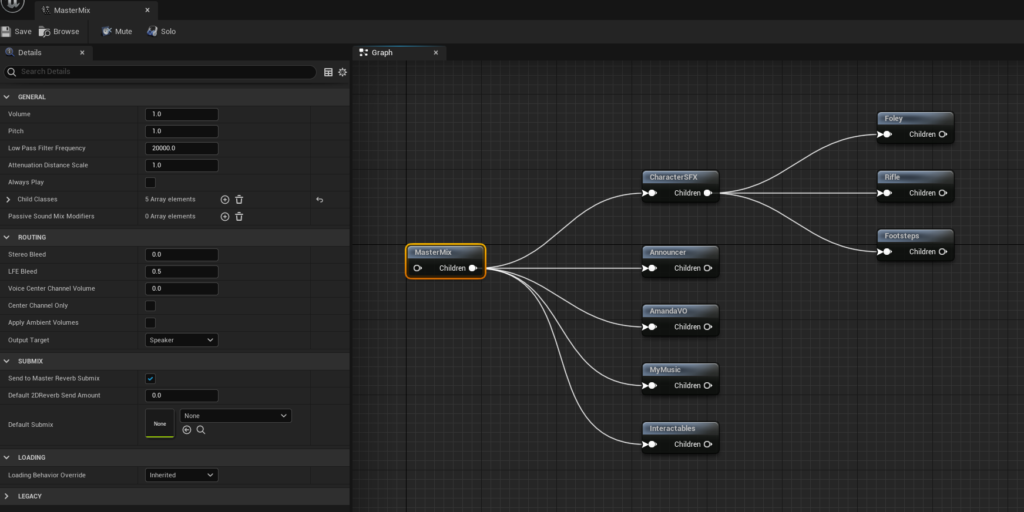
In the Graph, when the widget is constructed, in this case when the player press the “M” key, I’m getting the Assets of class SoundMix and SoundClass that Unreal found in the Asset Registry. In other terms, in the Content folder of the engine. This means, that you don’t have to manually add any asset to this system. With this Assets found, I’m adding them to the Grid Panels and adding them into Arrays for later control.
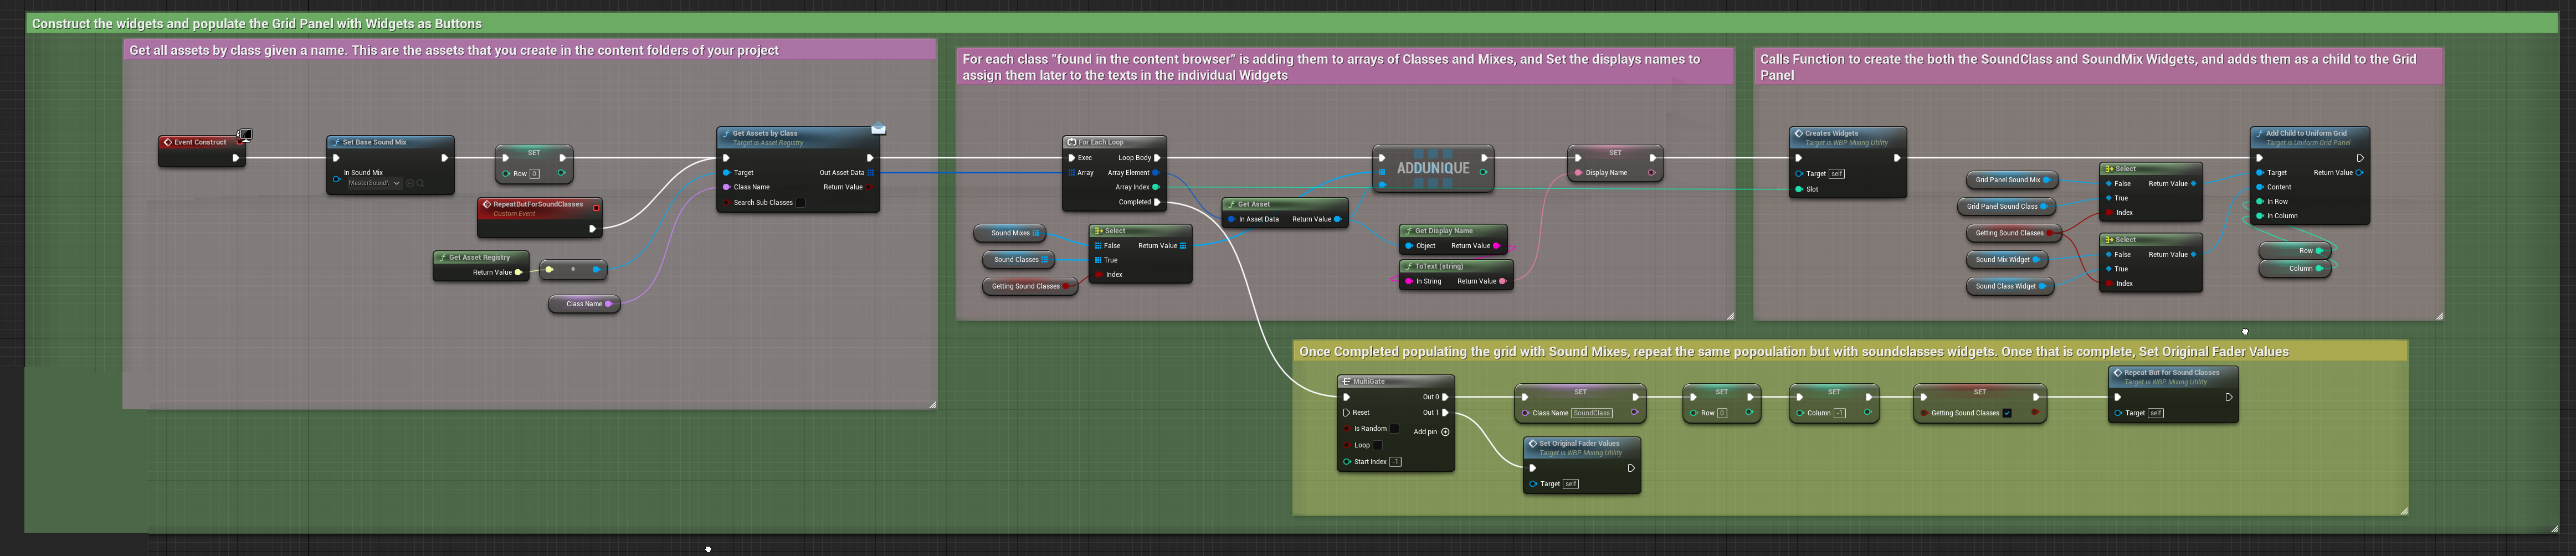
This function constructs each Widget Button, and assigns them a “slot” in the Grid Panel.

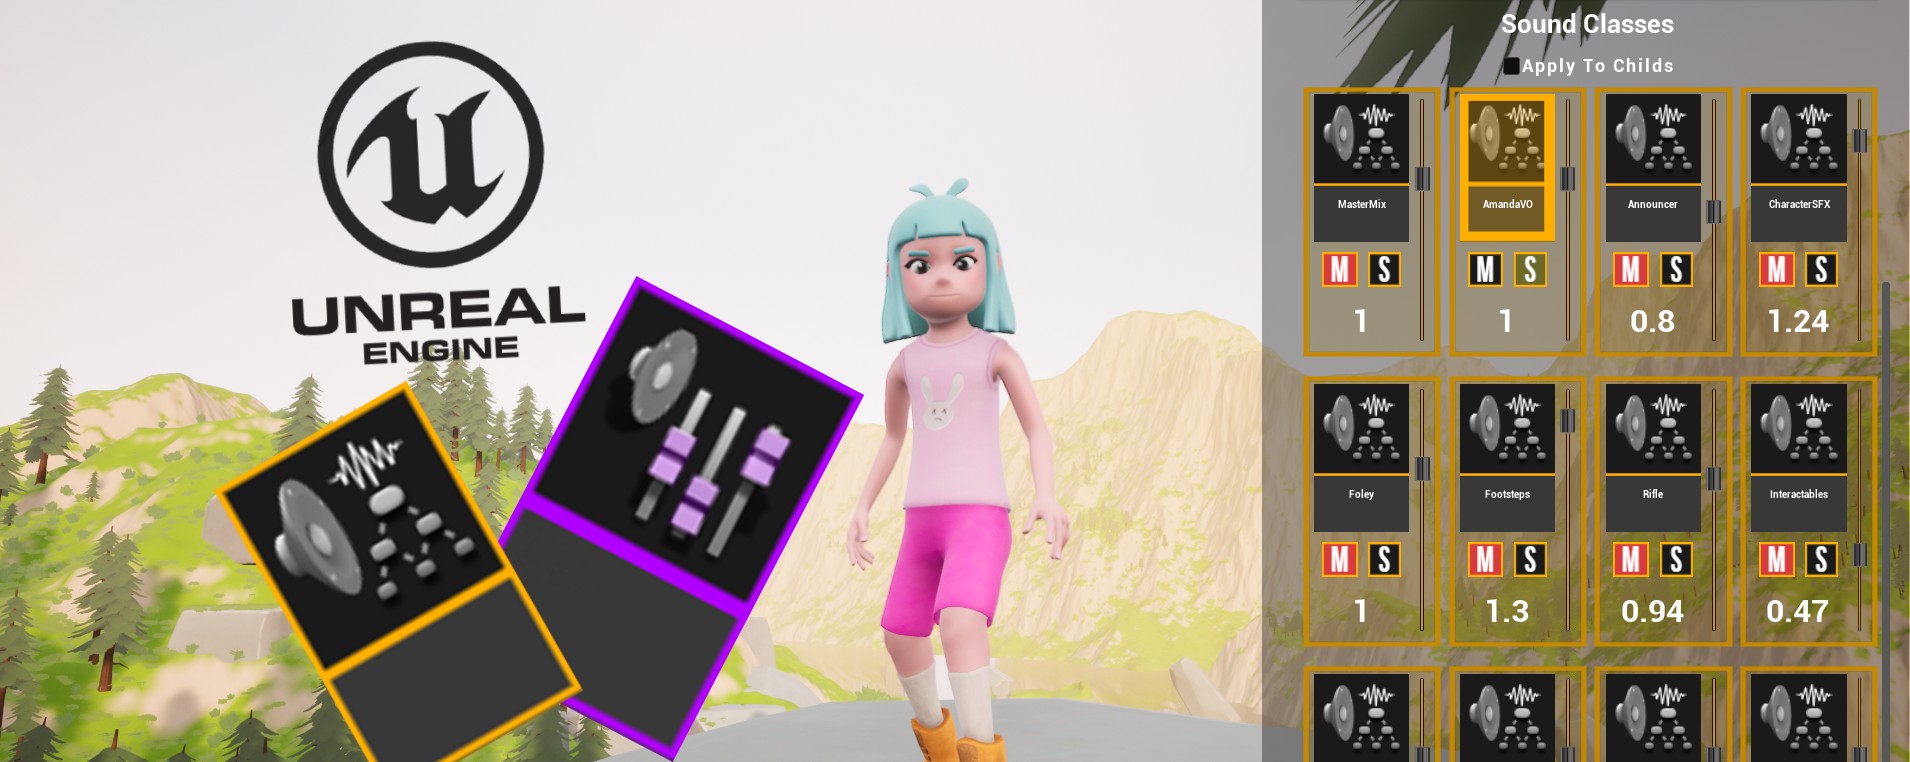
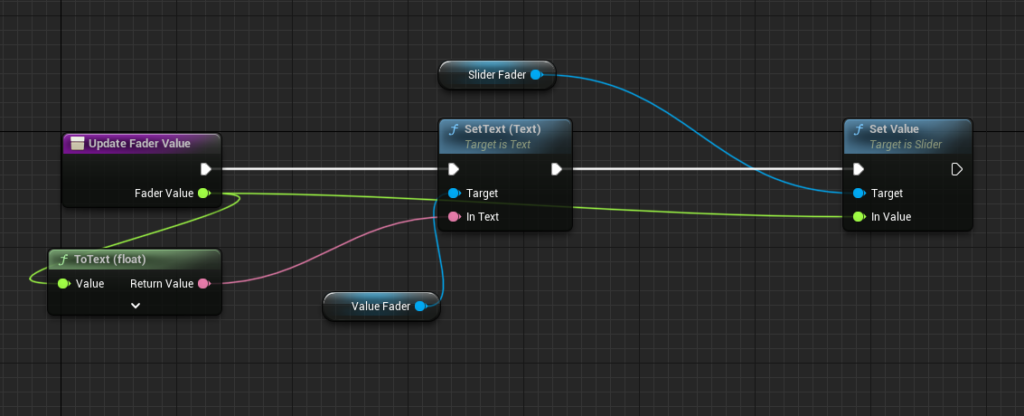
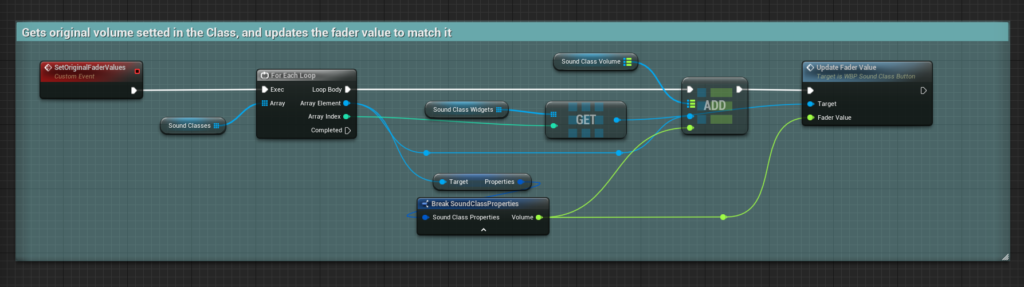
Then, I’m getting the original volume property of the Sound Classes, and updating the Fader Value with that Float. This is because, for example, the Footsteps Sound Class has been set at 1.3 of volume. I’m getting that value breaking the properties of the class, and assigning it to the Slider Value.

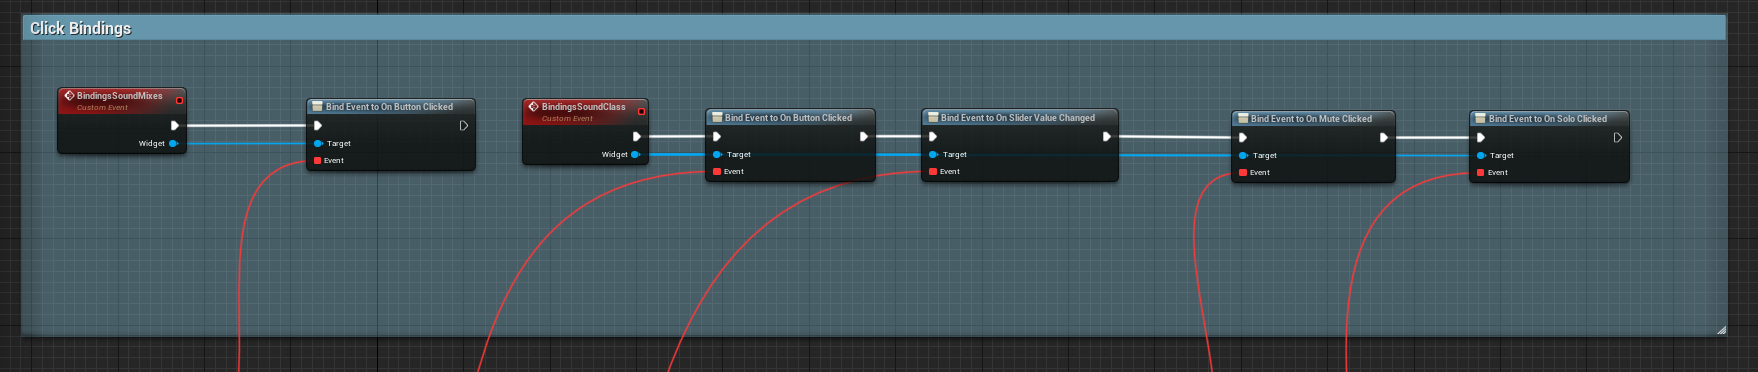
I’m also binding all the clickable buttons of each Sound Class and Sound Mix Widgets.
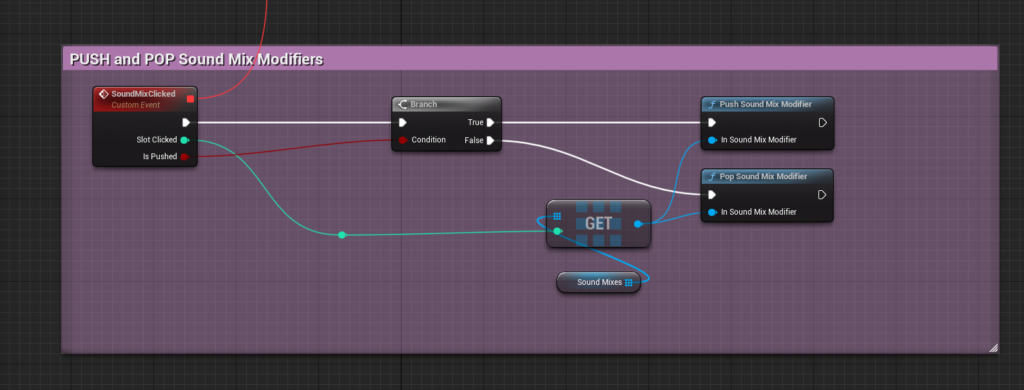
Push & Pop Sound Mix Modifiers
When a Sound Mix button is clicked, I’m pushing and popping the Sound Mix Modifiers. This is all the function that Sound mixes serve.
Sound Classes
Alternatively, when you click a Sound Class Button, I’m setting an array with the Slot of the Button clicked as the index, and passing a boolean. This allows me to know what classes are selected, as you can select multiple classes and move the faders of all the selected ones, for example.

Muting
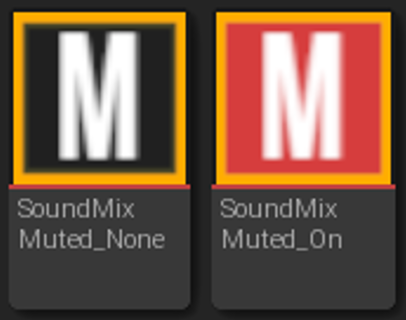
If the Mute button is pressed, I’m setting a Sound Mix Class Override for the clicked slot, or for each of the Selected Classes of the array. When the “Pressed” bool is true, I’m setting the volume to 0.0, and if it’s false, I’m setting the Volume as it was before.

“Get Class Volume” is a Pure Function that gets the float value (volume) from a map of Sound Classes and Floats. I’m setting this map in other places, and it serves for caching volume modification of Sound Classes.

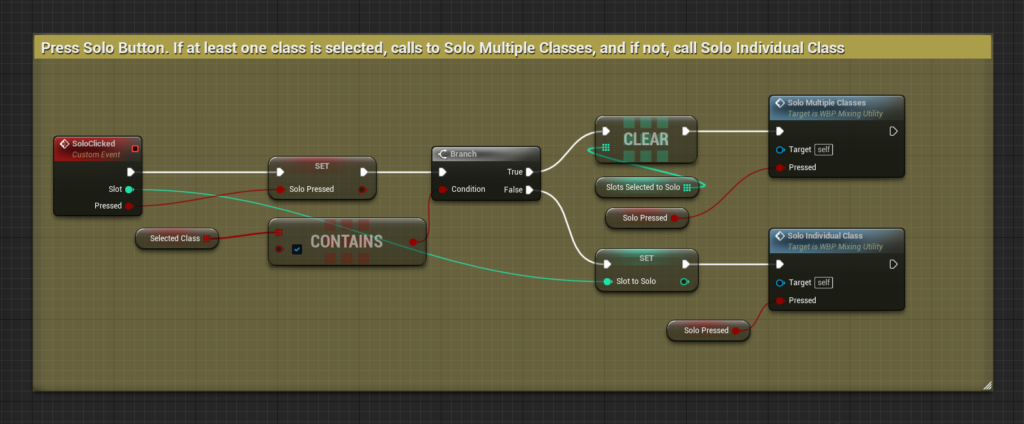
Soloing
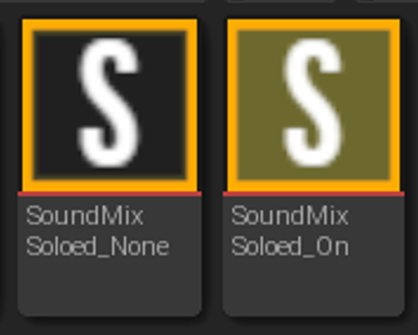
When a Solo Button is clicked, It calls Solo Multiple Classes or Solo Individual Class, depending if Selected Class array has values of “true” in it.
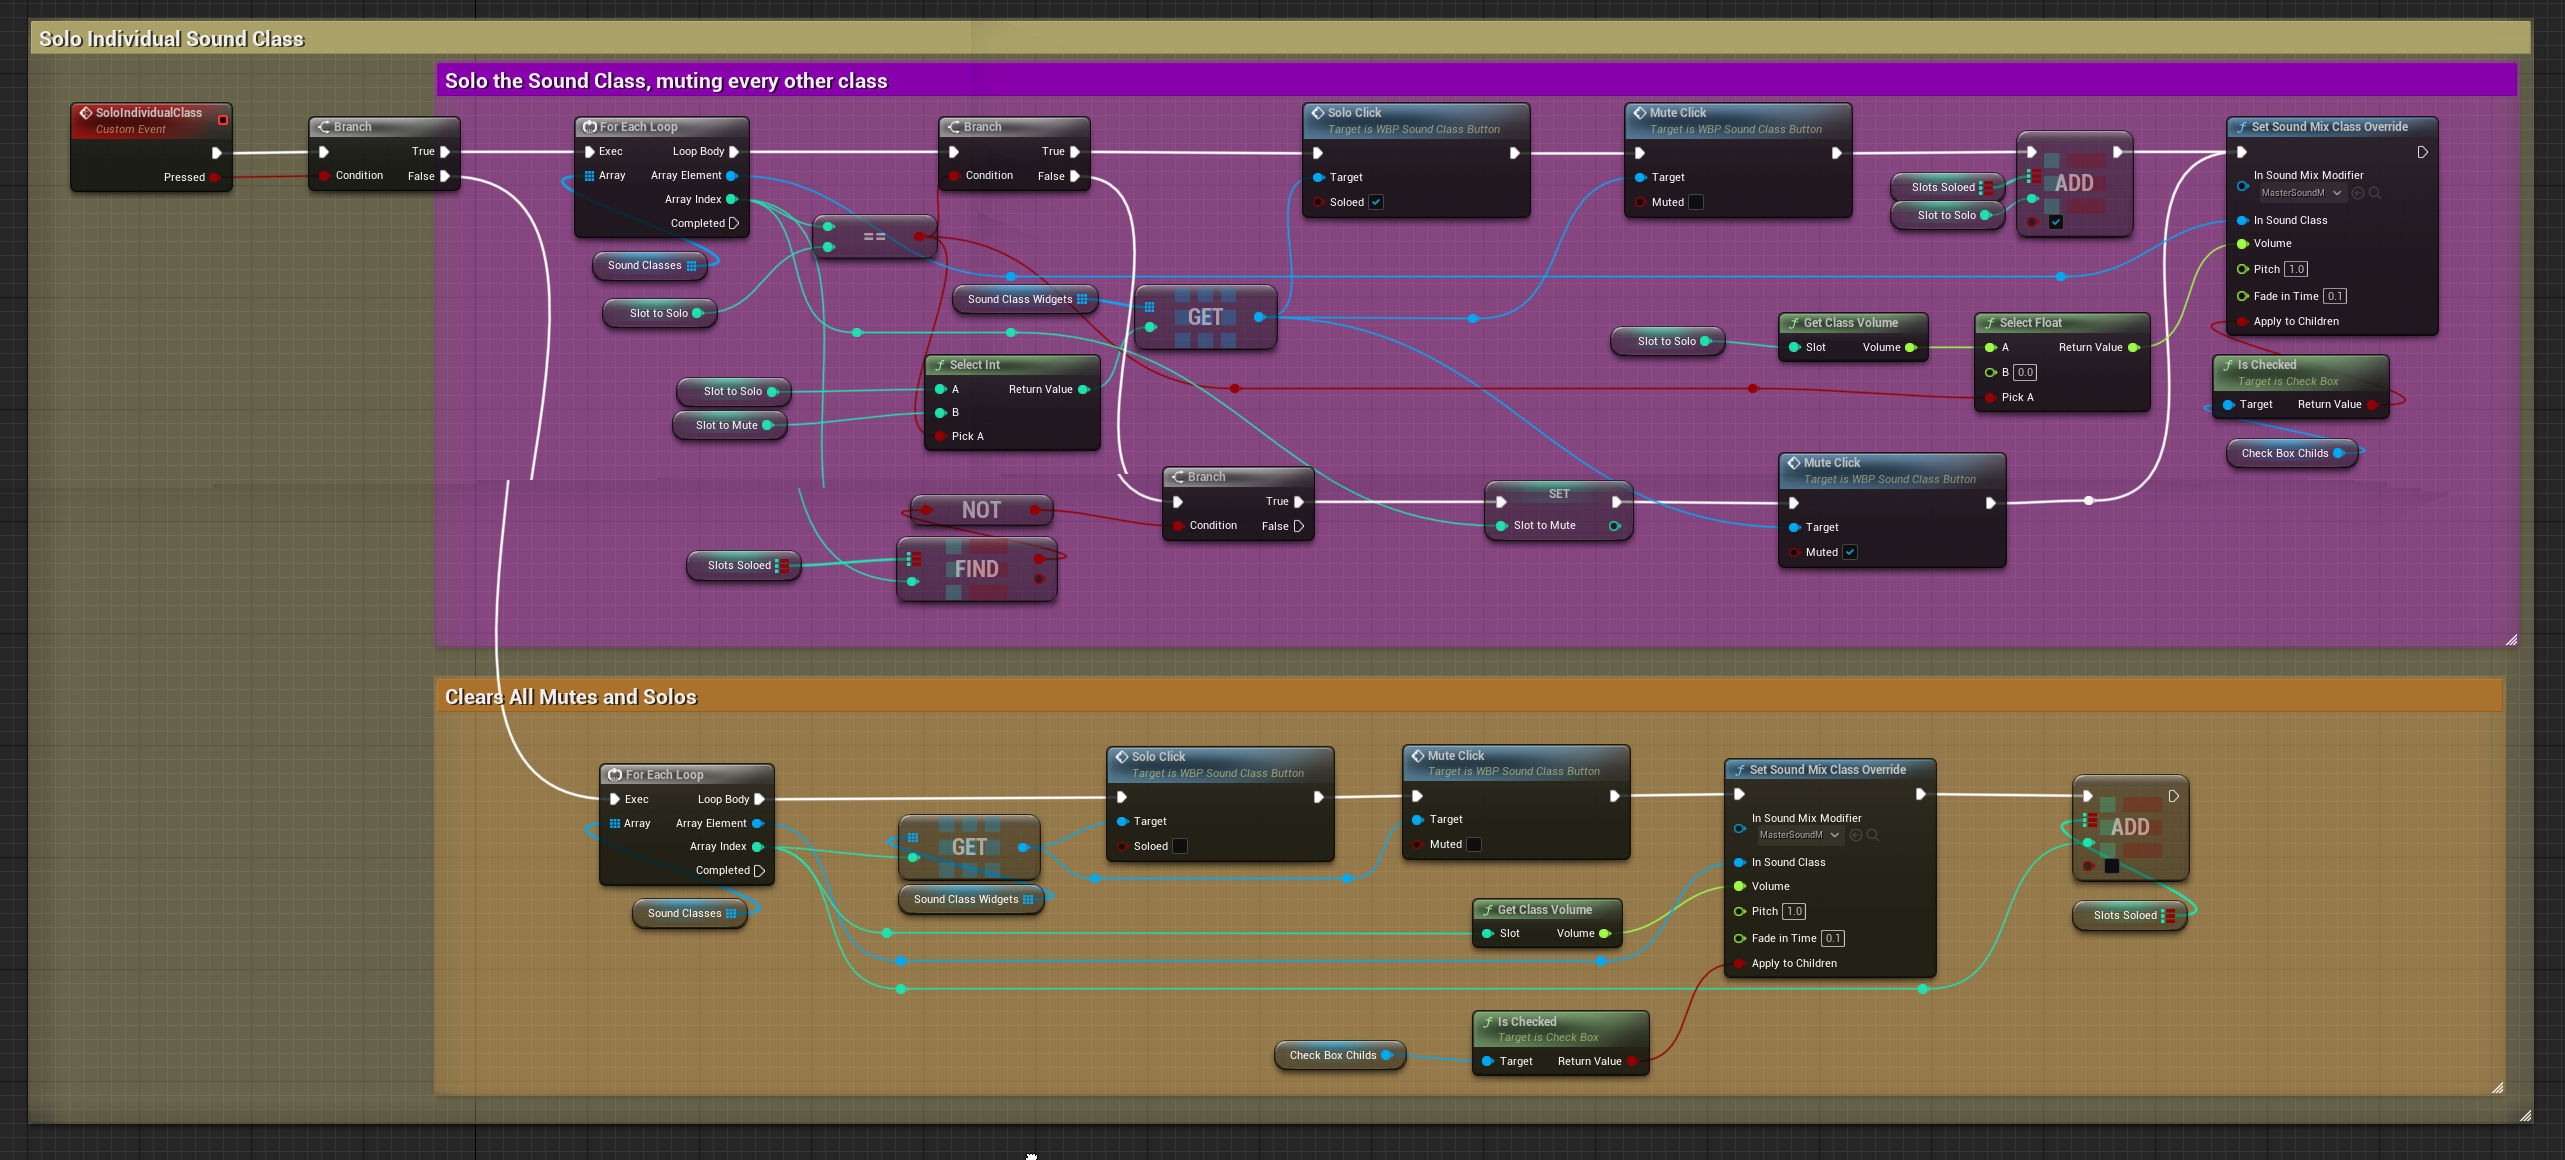
Solo Individual Class, essentially mutes every other class except the slot clicked.
Solo Multiple Classes, does the same but for Selected Clases.

Finally, when the slider get it’s value changed, it applies the float value to the volume of the Sound Mix Class Override. Then saves this “New Volume” in the map.


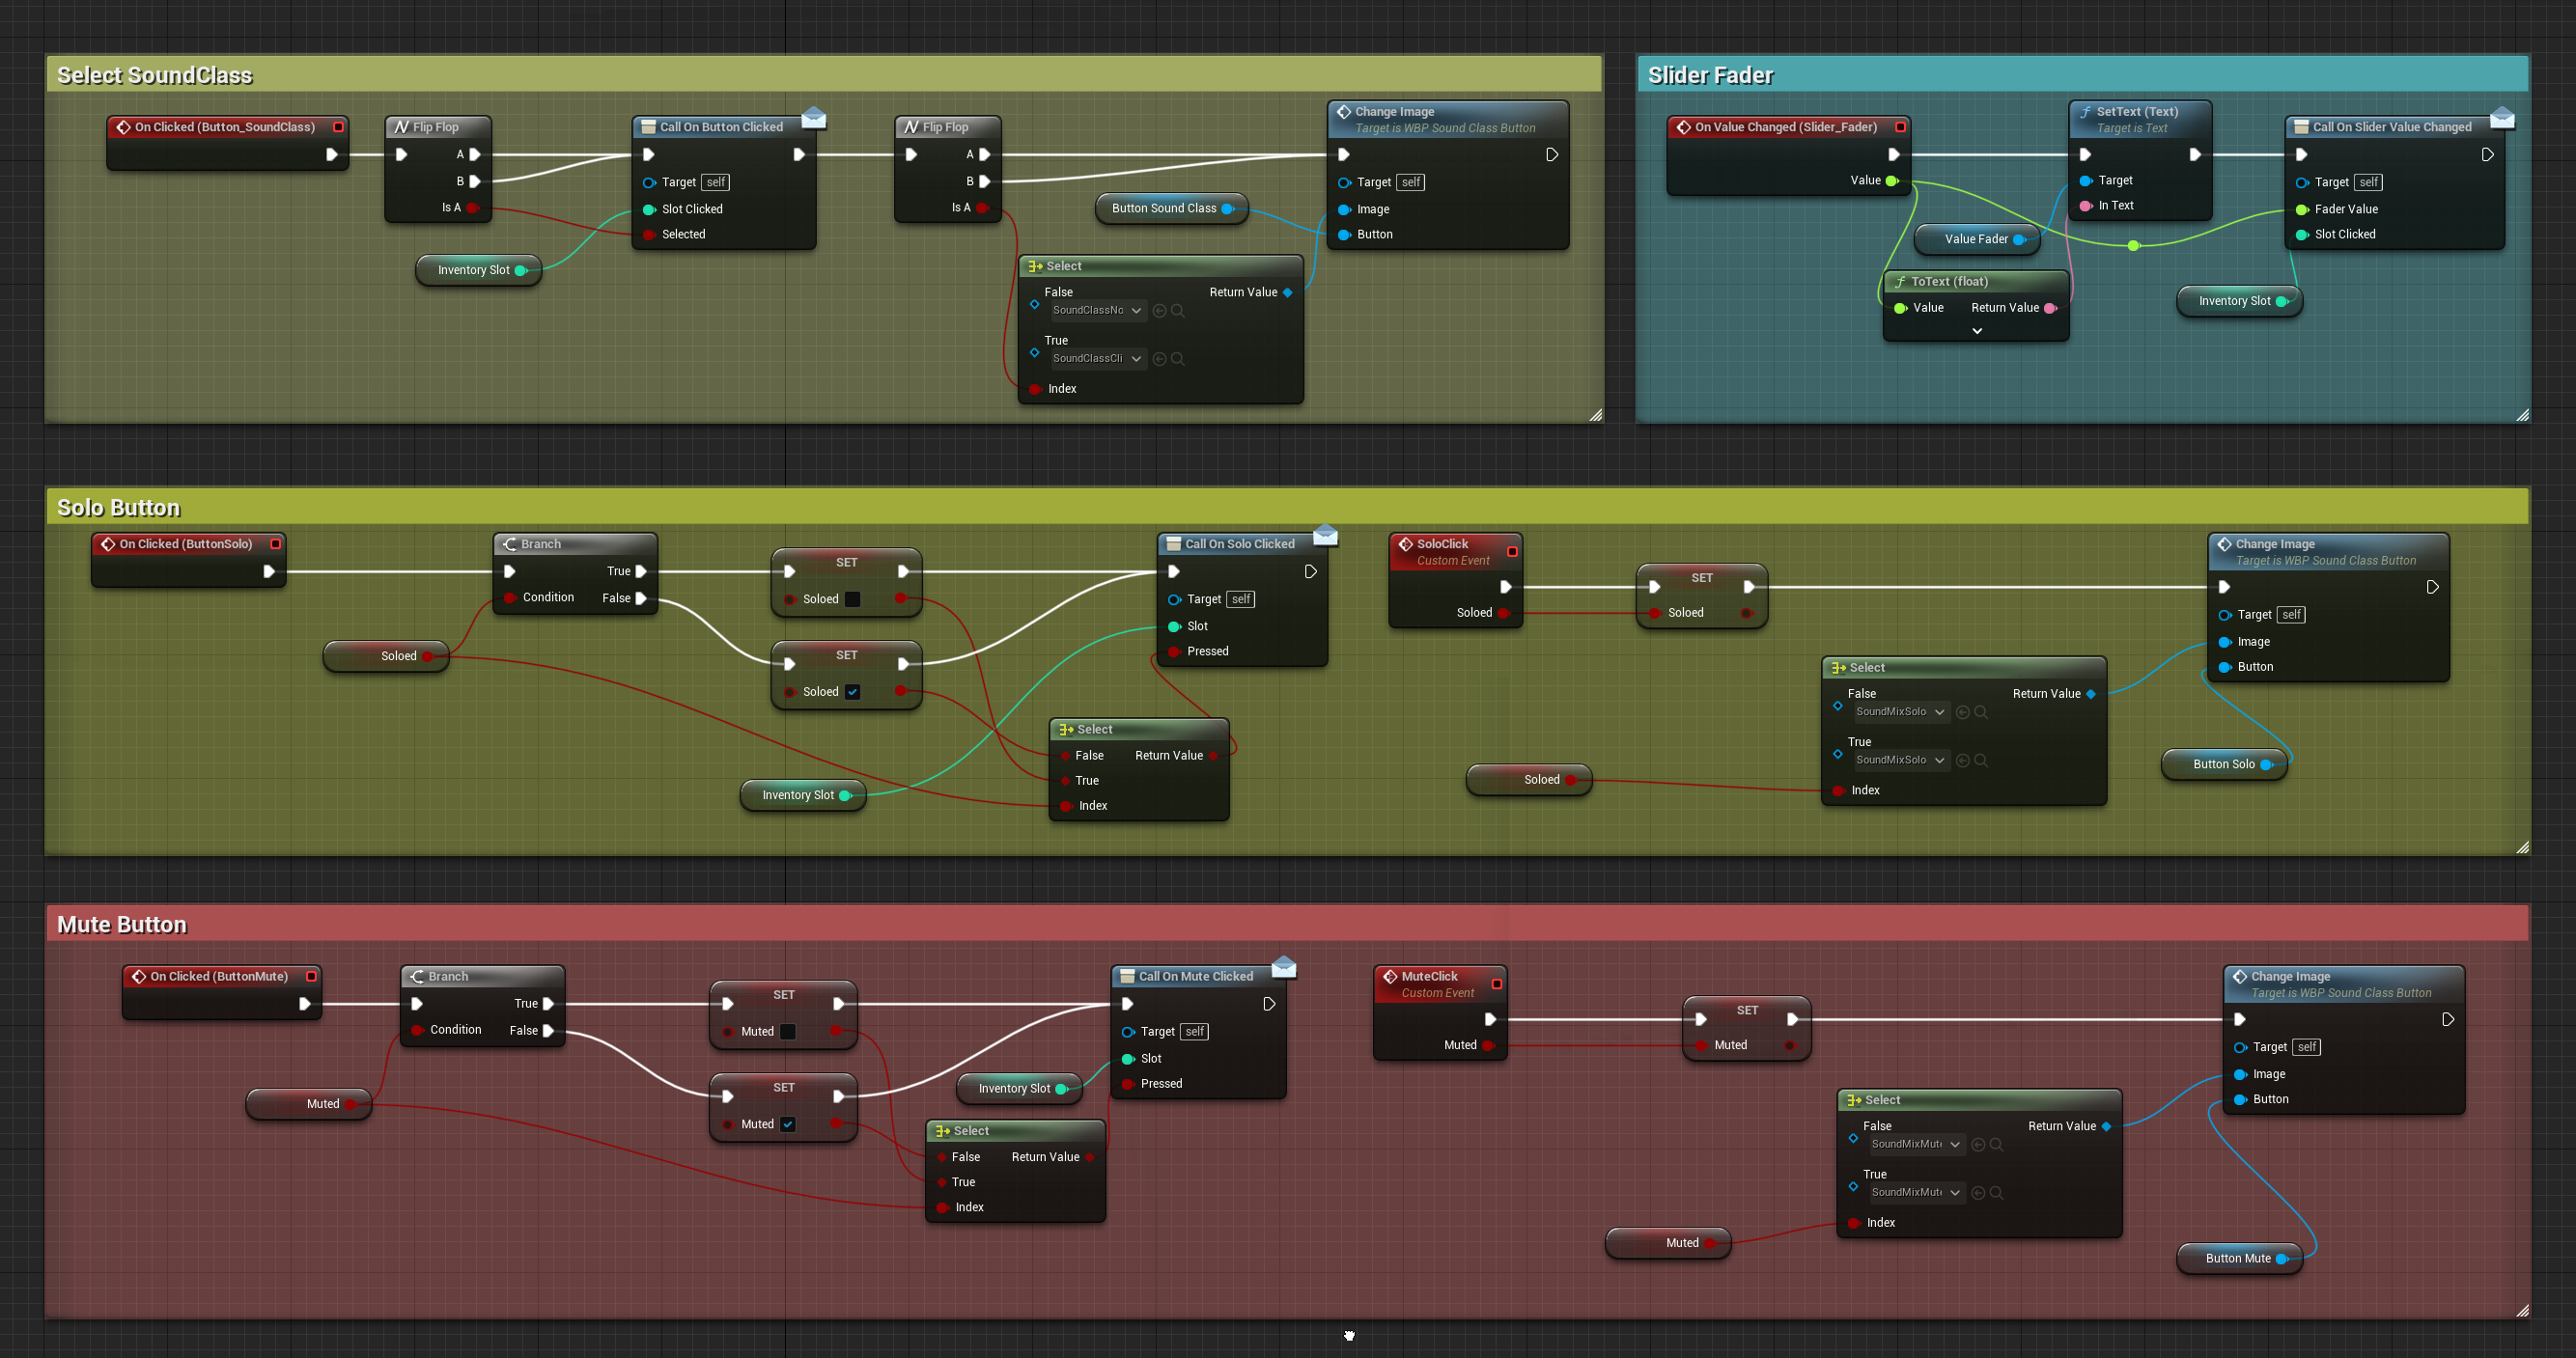
All Logic


The Result
And thats all for the Audio Mix Utility! I hope you found it interesting!
If you have any comments, please reach out through my Twitter, I would love to see if you have any suggestions to further improve this system!
By the way, I’m making one of this blogs per month so… please stay tuned! Thanks for reading! Till the next one!
Here’s a little showcase!
Disclaimer: Music is from Fall Guys videogame, Announcer is from Super Smash Bros, and character voice over is from League of Legends. When doing this systems I try to stay focus on the implementation side and not design every sound.